THE WILDERNESS MUST BE EXPLORED!!!!
If you haven’t seen UP yet, STOP reading this right now, RUN to the store, BUY IT, WATCH IT, and THEN come back here… I’m not joking. Oh and just a warning- be prepared to cry.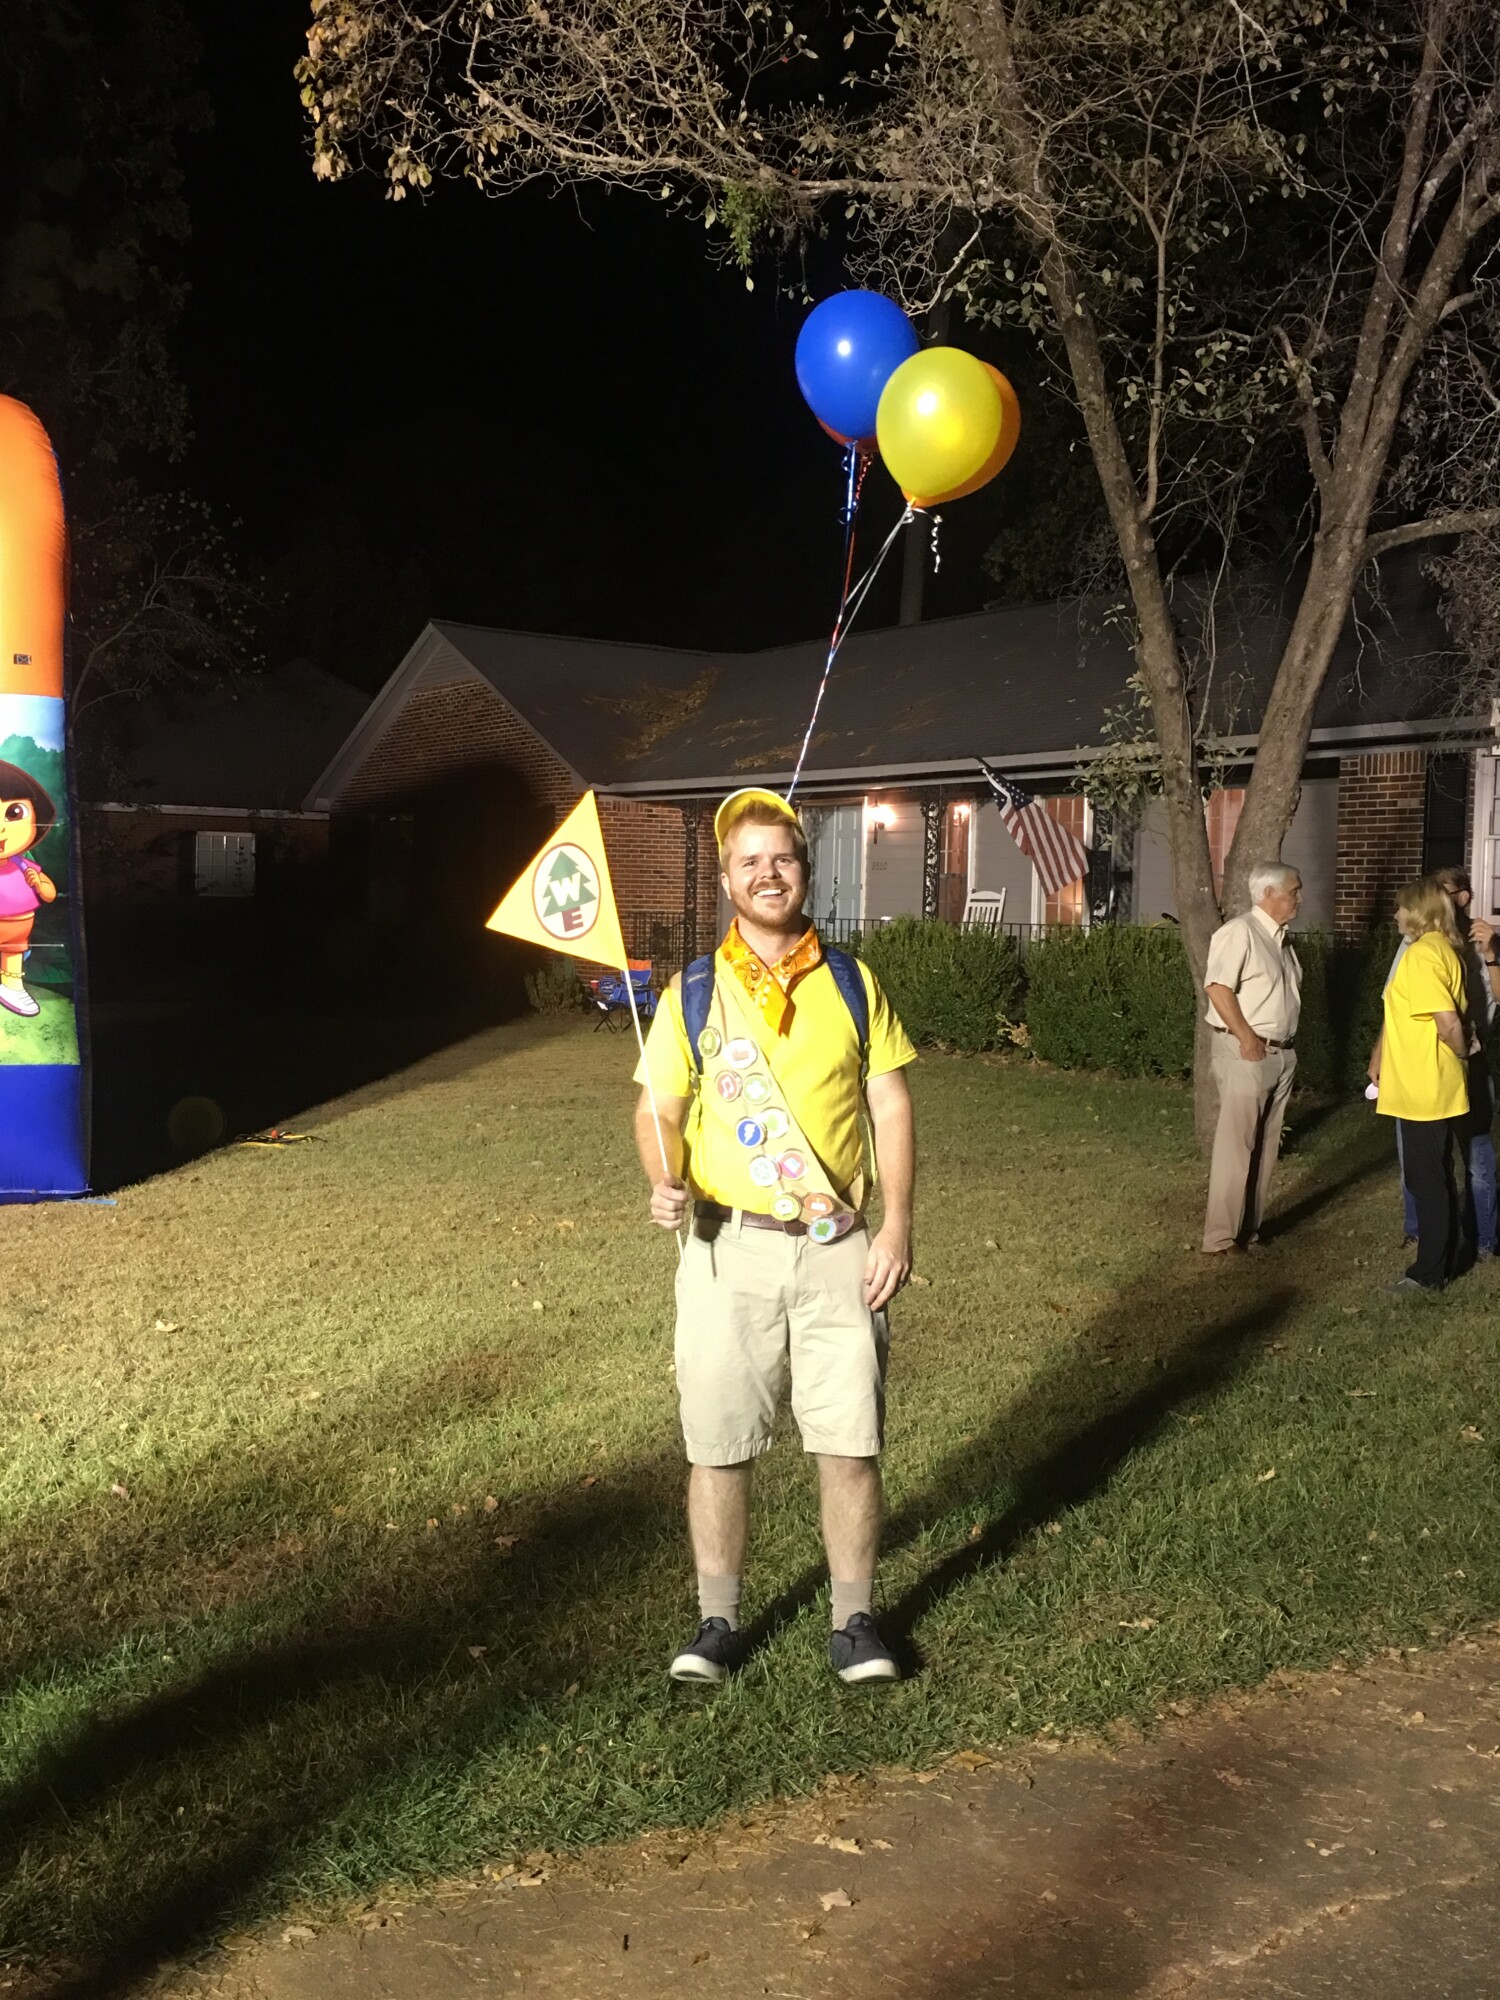
Ok, now that we have that settled, lets get back to the costume tutorial. Isn’t Russell just the cutest! And his costume is so easy to make! Most of these items can be found at a craft store like Hobby Lobby or Michael’s and at Good Will.
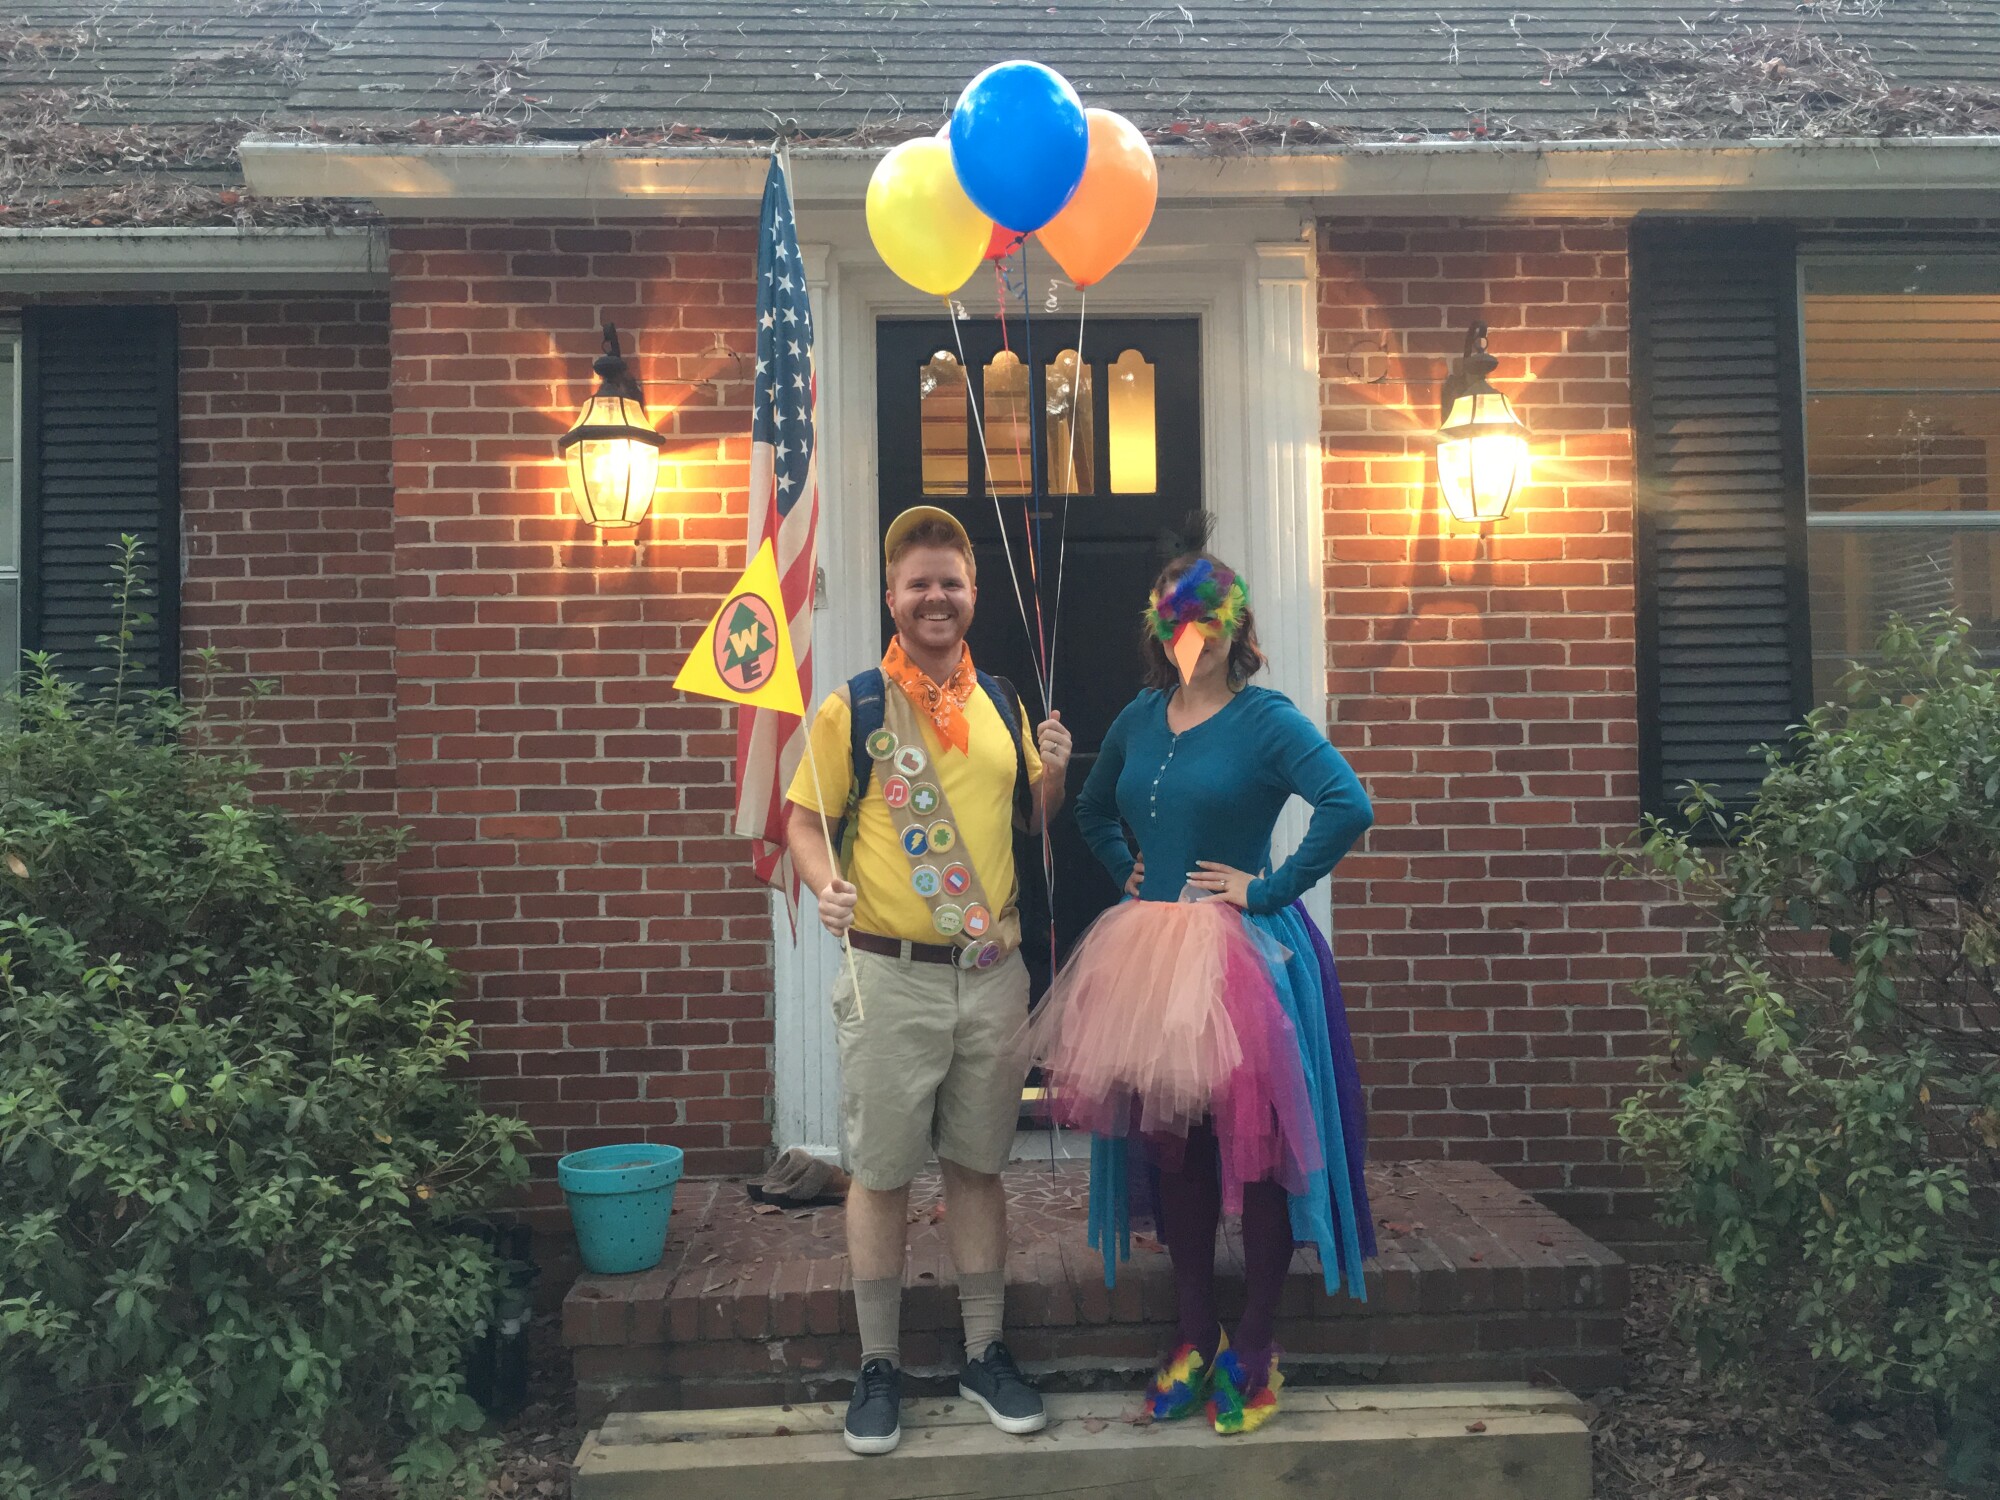
Here is what you need:
Yellow T-Shirt
Orange Bandanna
Khaki Shorts
Khaki Socks
Hiking/Dark Colored Outdoor Shoes
Brown Fabric for the Sash
Yellow or Khaki Hat- or white and spray paint
Brown, Orange, Green, and Yellow Felt
Orange Construction Paper
Long dowel for flag
Plastic Buttons
Balloons
Book-bag
Printer with Colored Ink
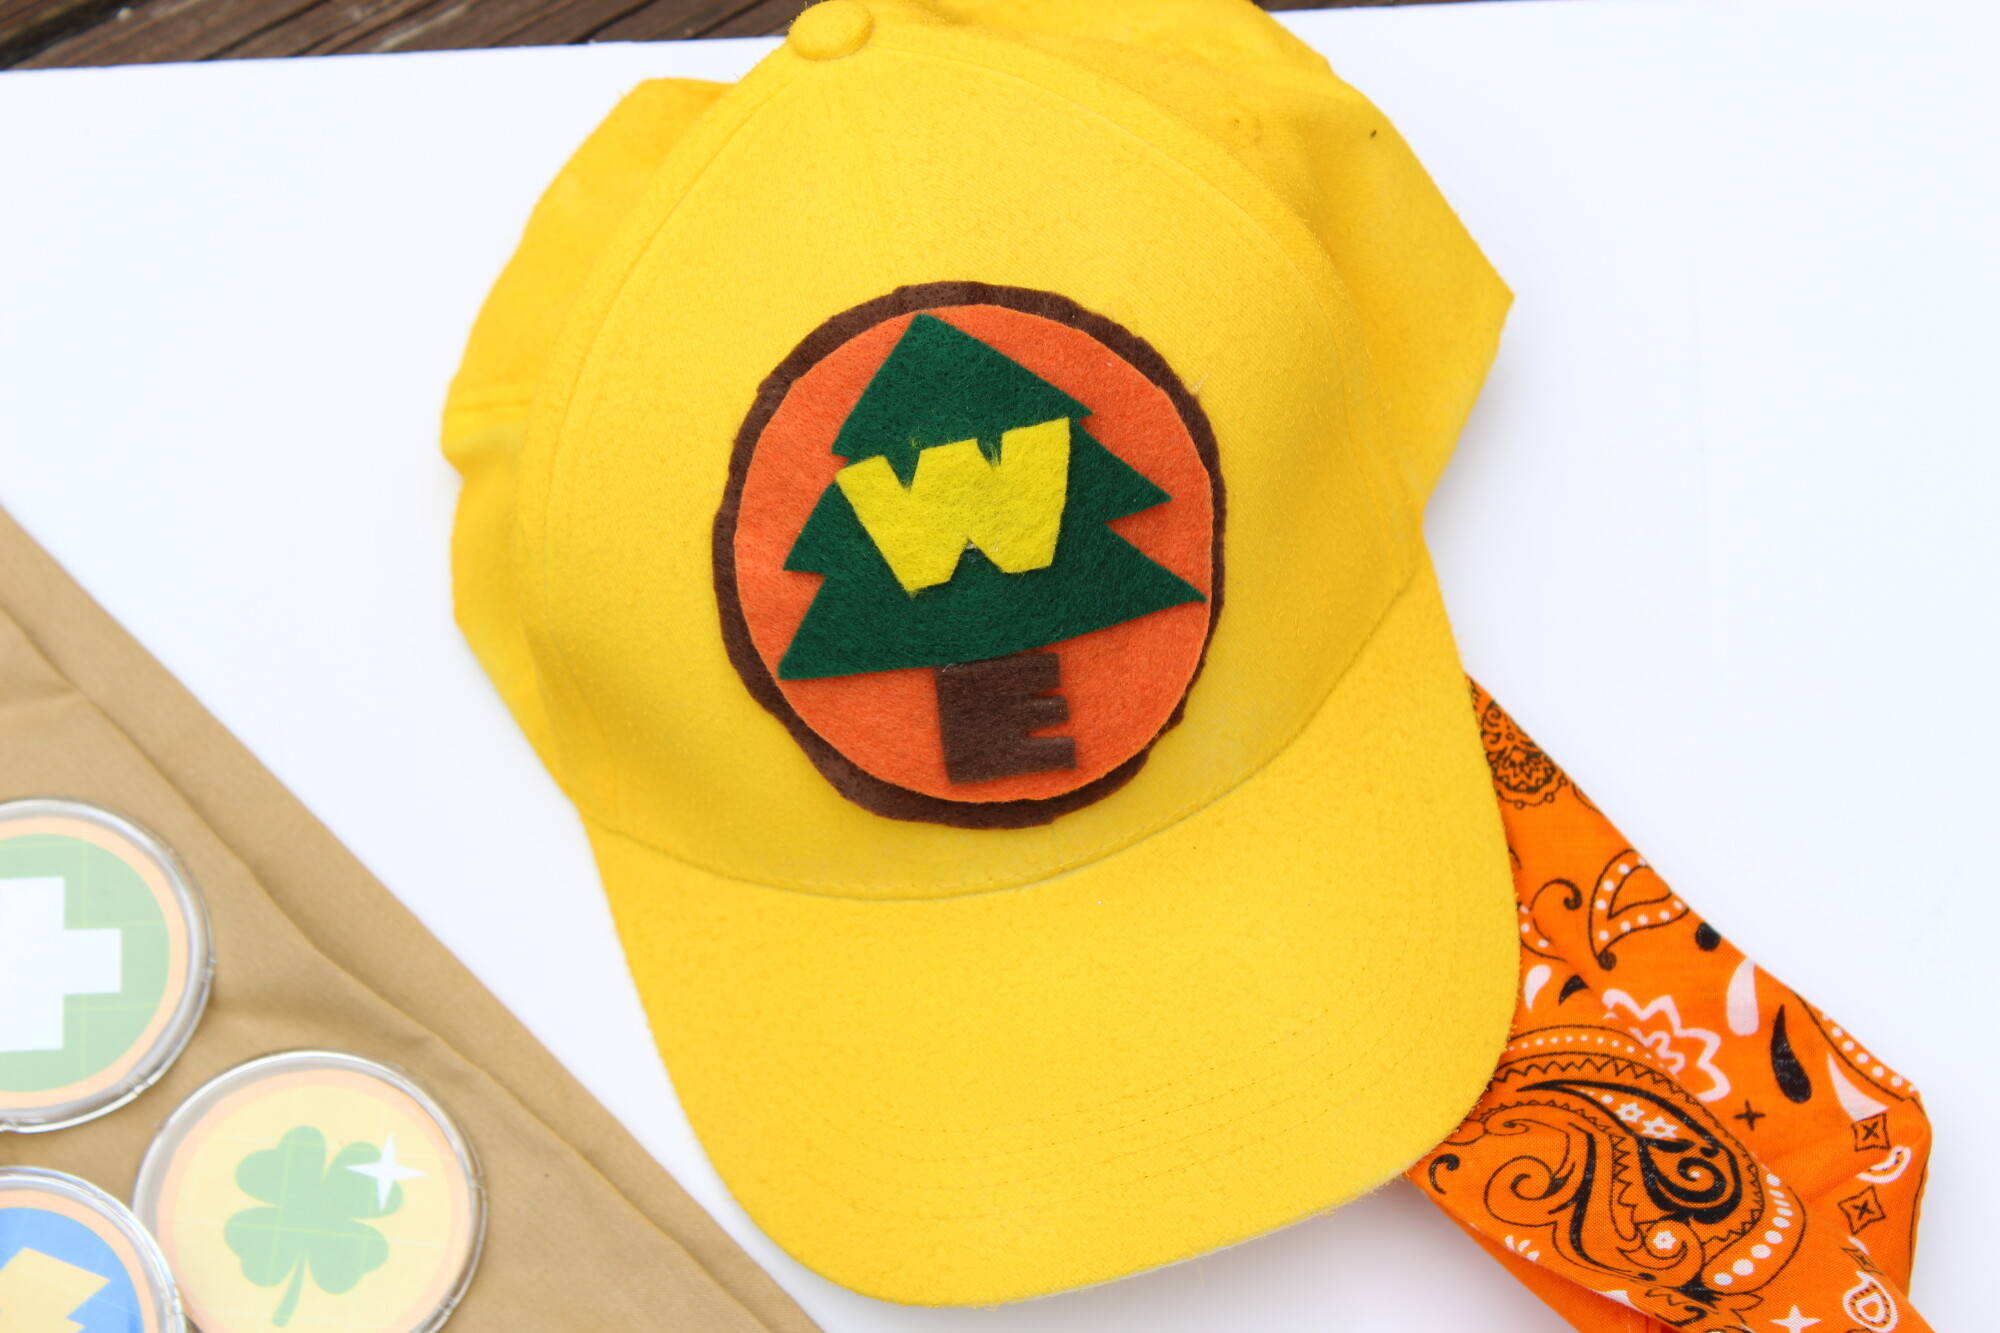
The Hat was probably my favorite thing to make. We couldn’t find a yellow one, so we bought a white one and spray painted it yellow. I printed out the Wilderness Explorer logo to the size I needed for the hat and then cut out each piece from felt. I glued them all together with a hot glue gun and then glued the whole piece to the hat.
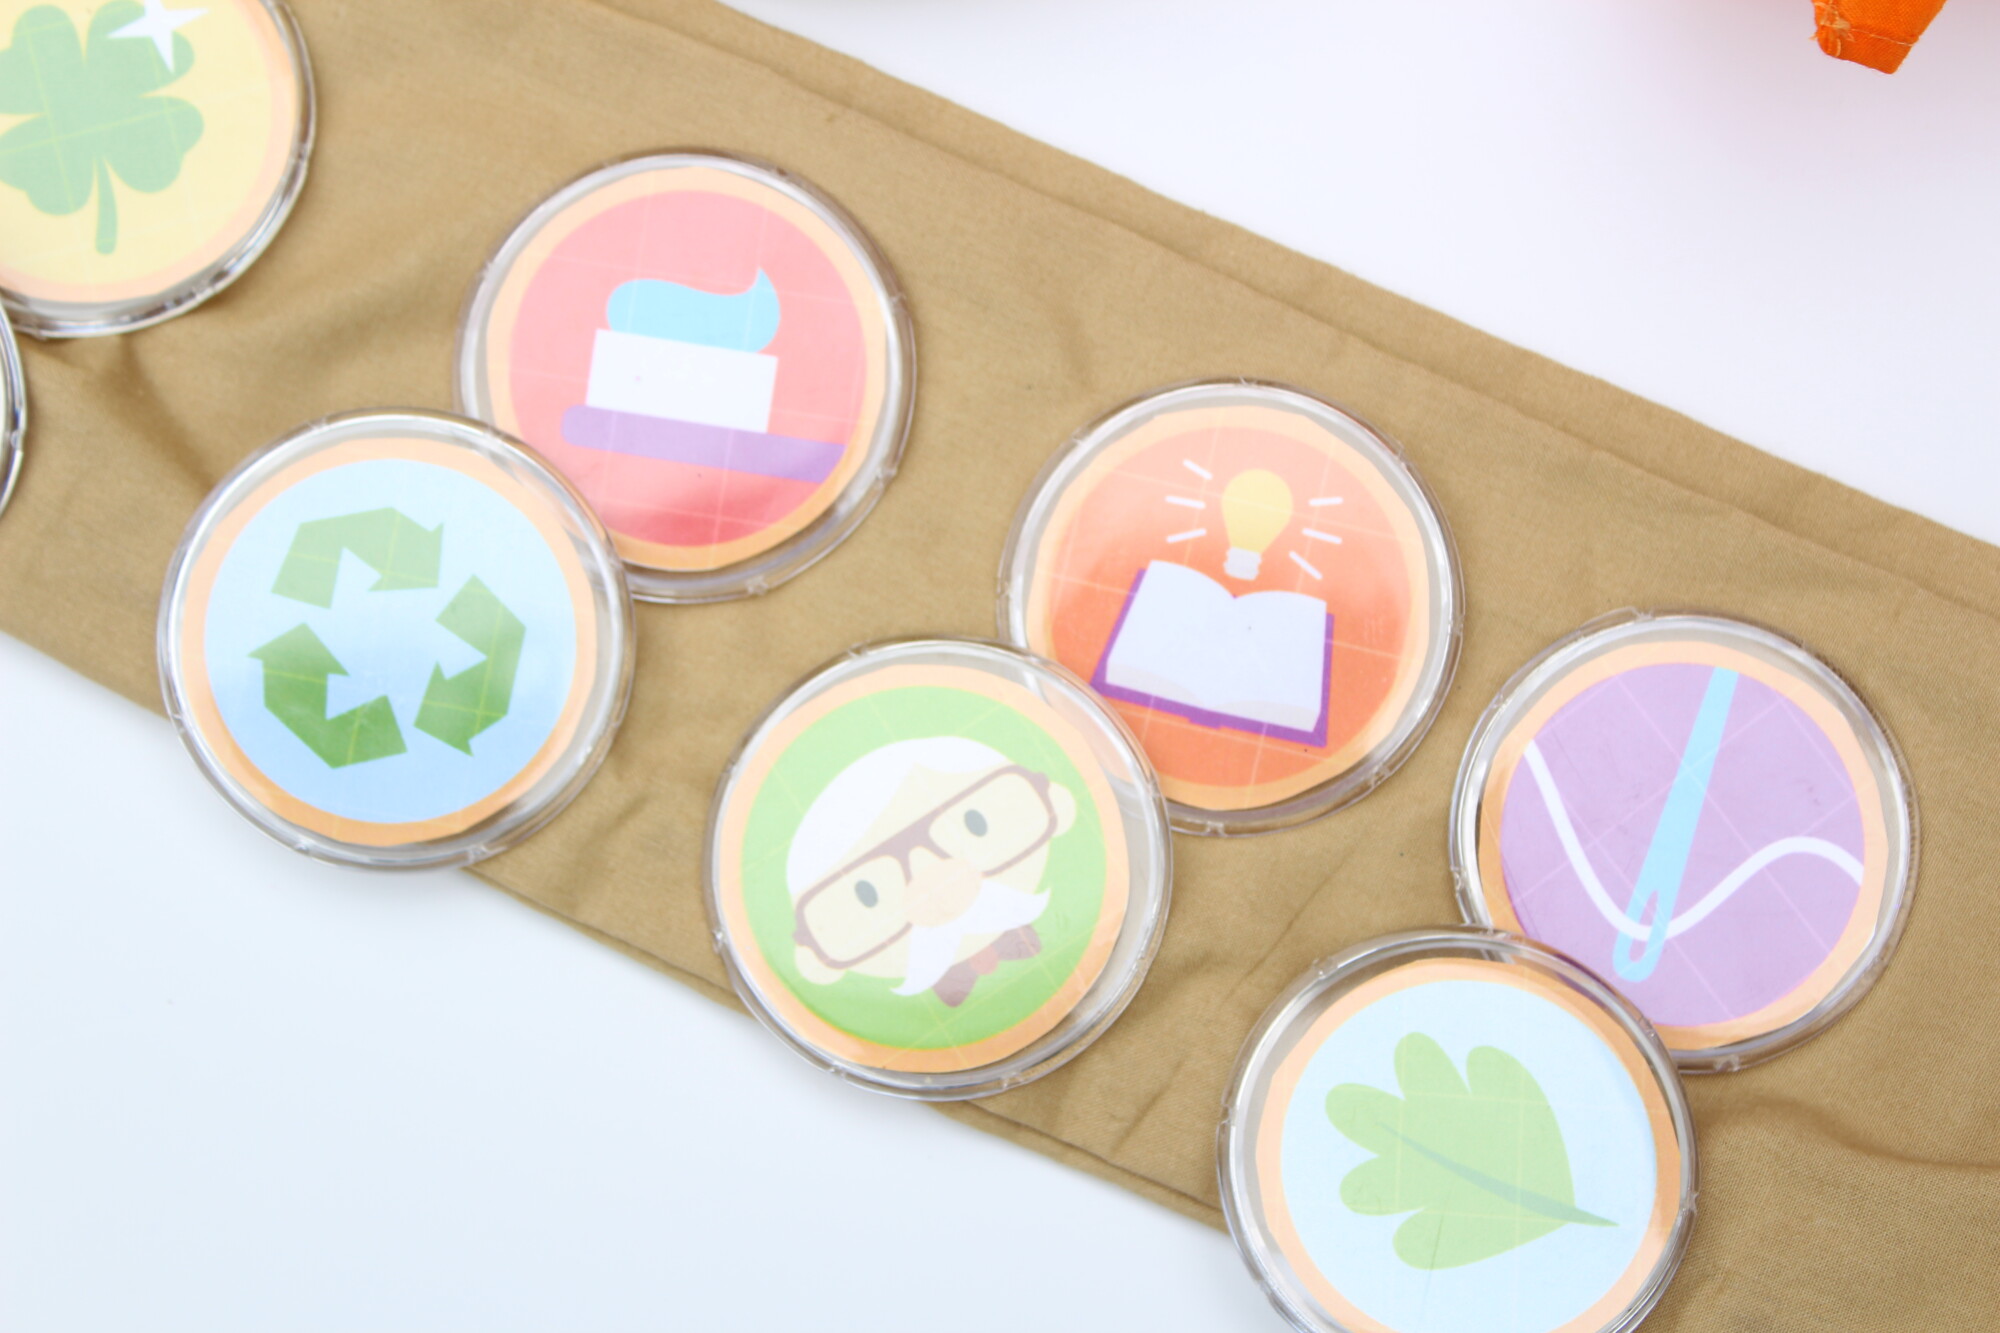
Aren’t those badges just the cutest! I googled Wilderness Explorer badges and found a sheet that I liked. I ended up having to play around with it in Microsoft Paint and Word until they were the right size. You don’t have to have fancy editing software for this. I just saved the picture to my computer, opened it in paint and cropped the picture tight on the badges. Then I opened it in Word and changed the margins four all for sides to around .25, then printed off the sheet in black and white to make sure they were the right size. Once I got them right I printed in color, cut them out and put them in the plastic buttons.
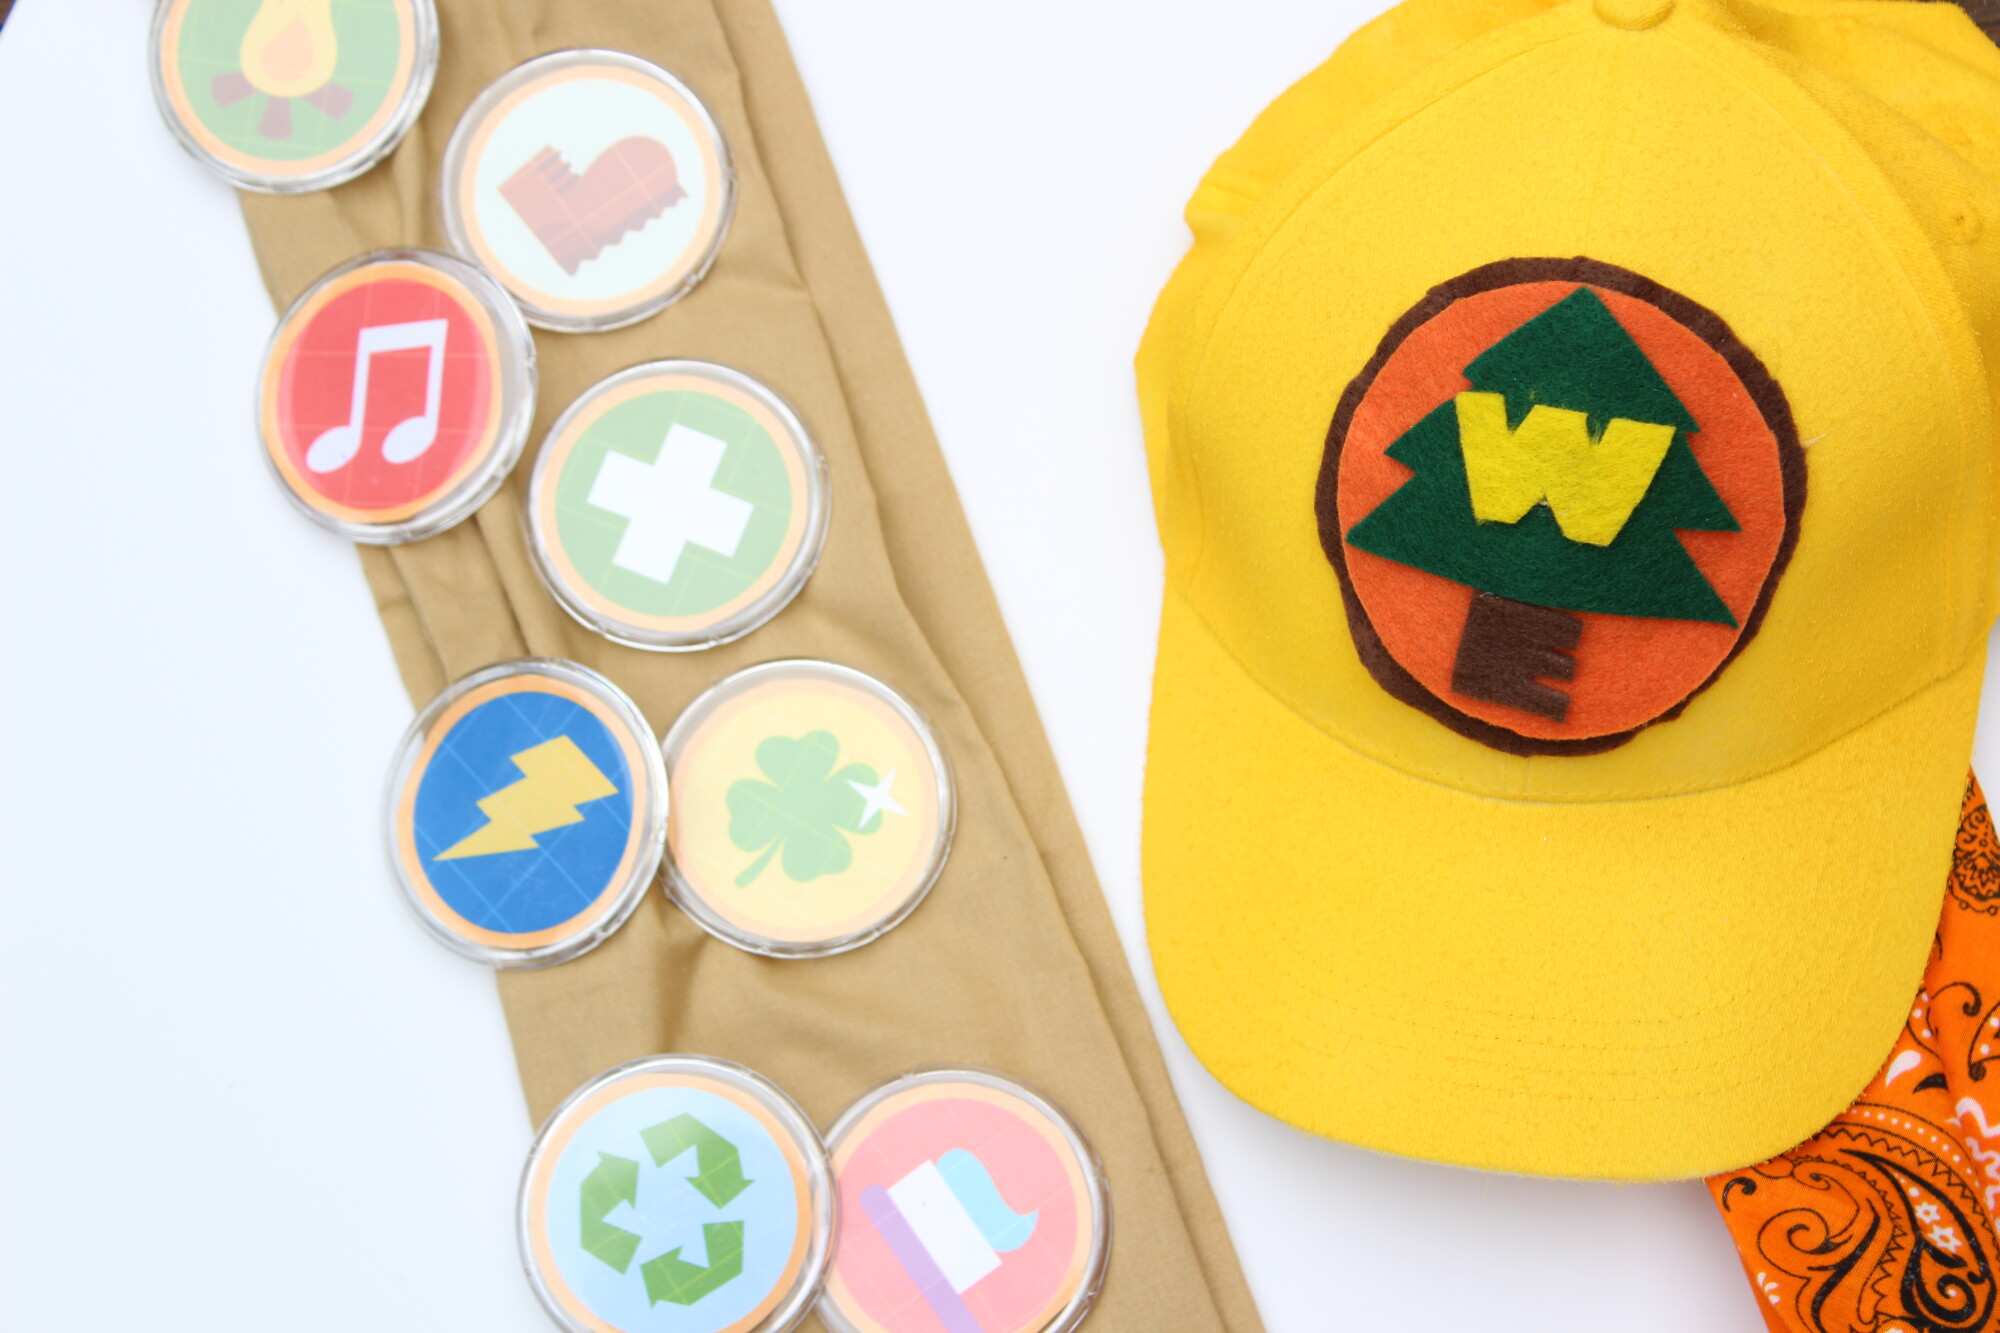
The sash was probably the hardest part. I bought 2 yards of brown fabric in the discount section on Hobby Lobby. Depending on what your fabric is like will depend on how much work you have to do. The fabric I used was already cut into one yard sections, it was also very wide. I ended up cutting in half length wise and then hot gluing the ends together. I folded over the sides and hot glued those. We ended up folding the whole garment again length wise because it was so wide. I measured the sash around Scott and then cut and glued it to the right size so he could slip it over his arm. After that we pinned the buttons on the sash.
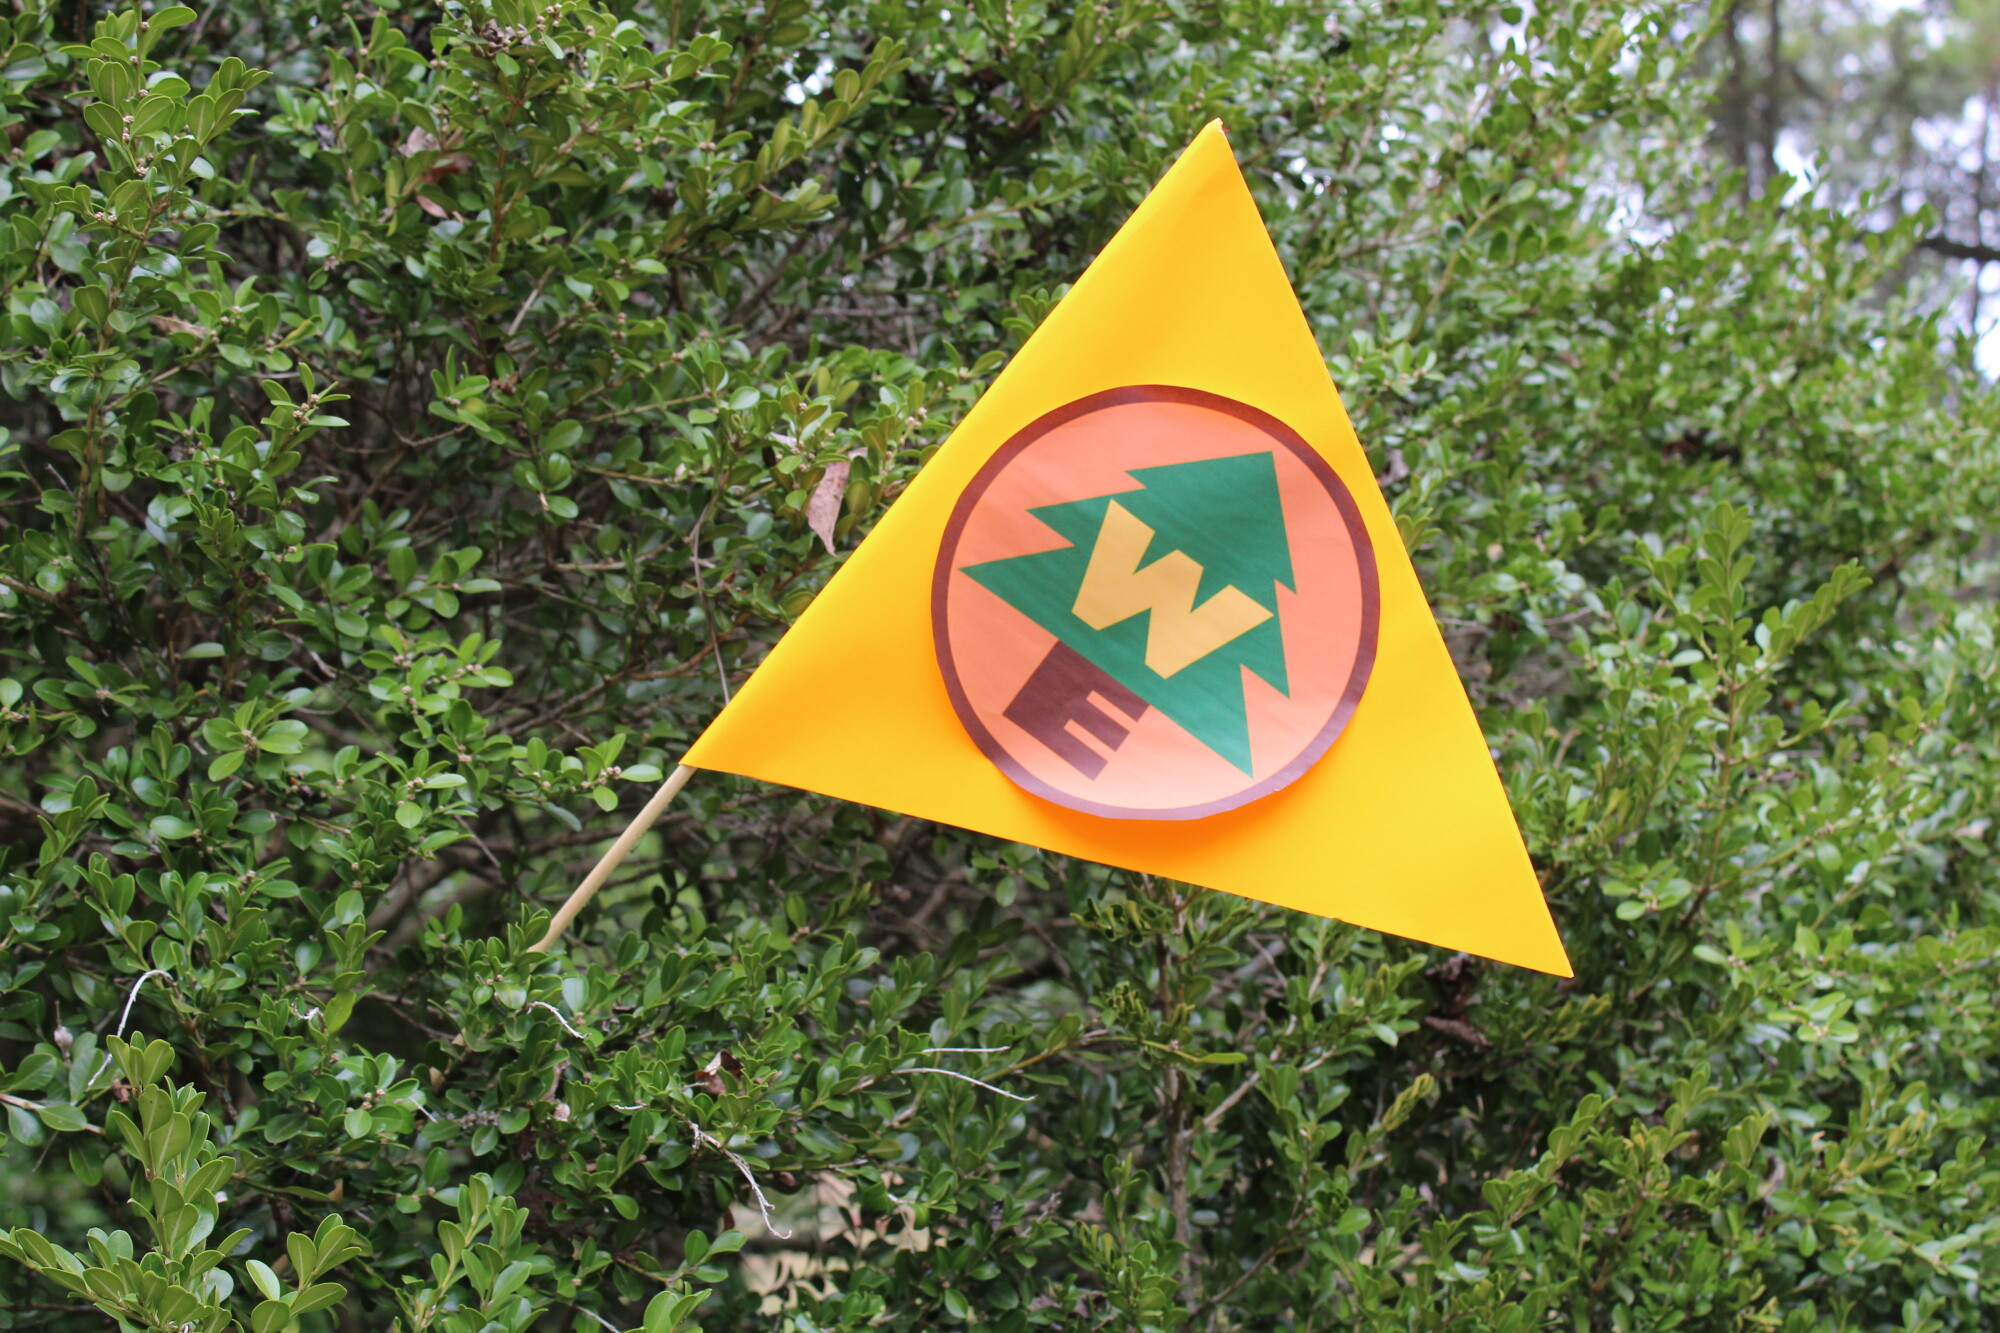
I promise this flag is orange! More like florescent orange, but still orange! Fold the construction paper down the middle and draw a triangle (long end on the fold, point going towards the outside). Cut out the triangle keeping the fold intact, that is important. Next place the wooden dowel in the middle, where the fold is and hot glue it in place. Fold the paper and hot glue the sides together. Next print off two Wilderness Explorer Logos and tape or glue them onto the outside of the flag.
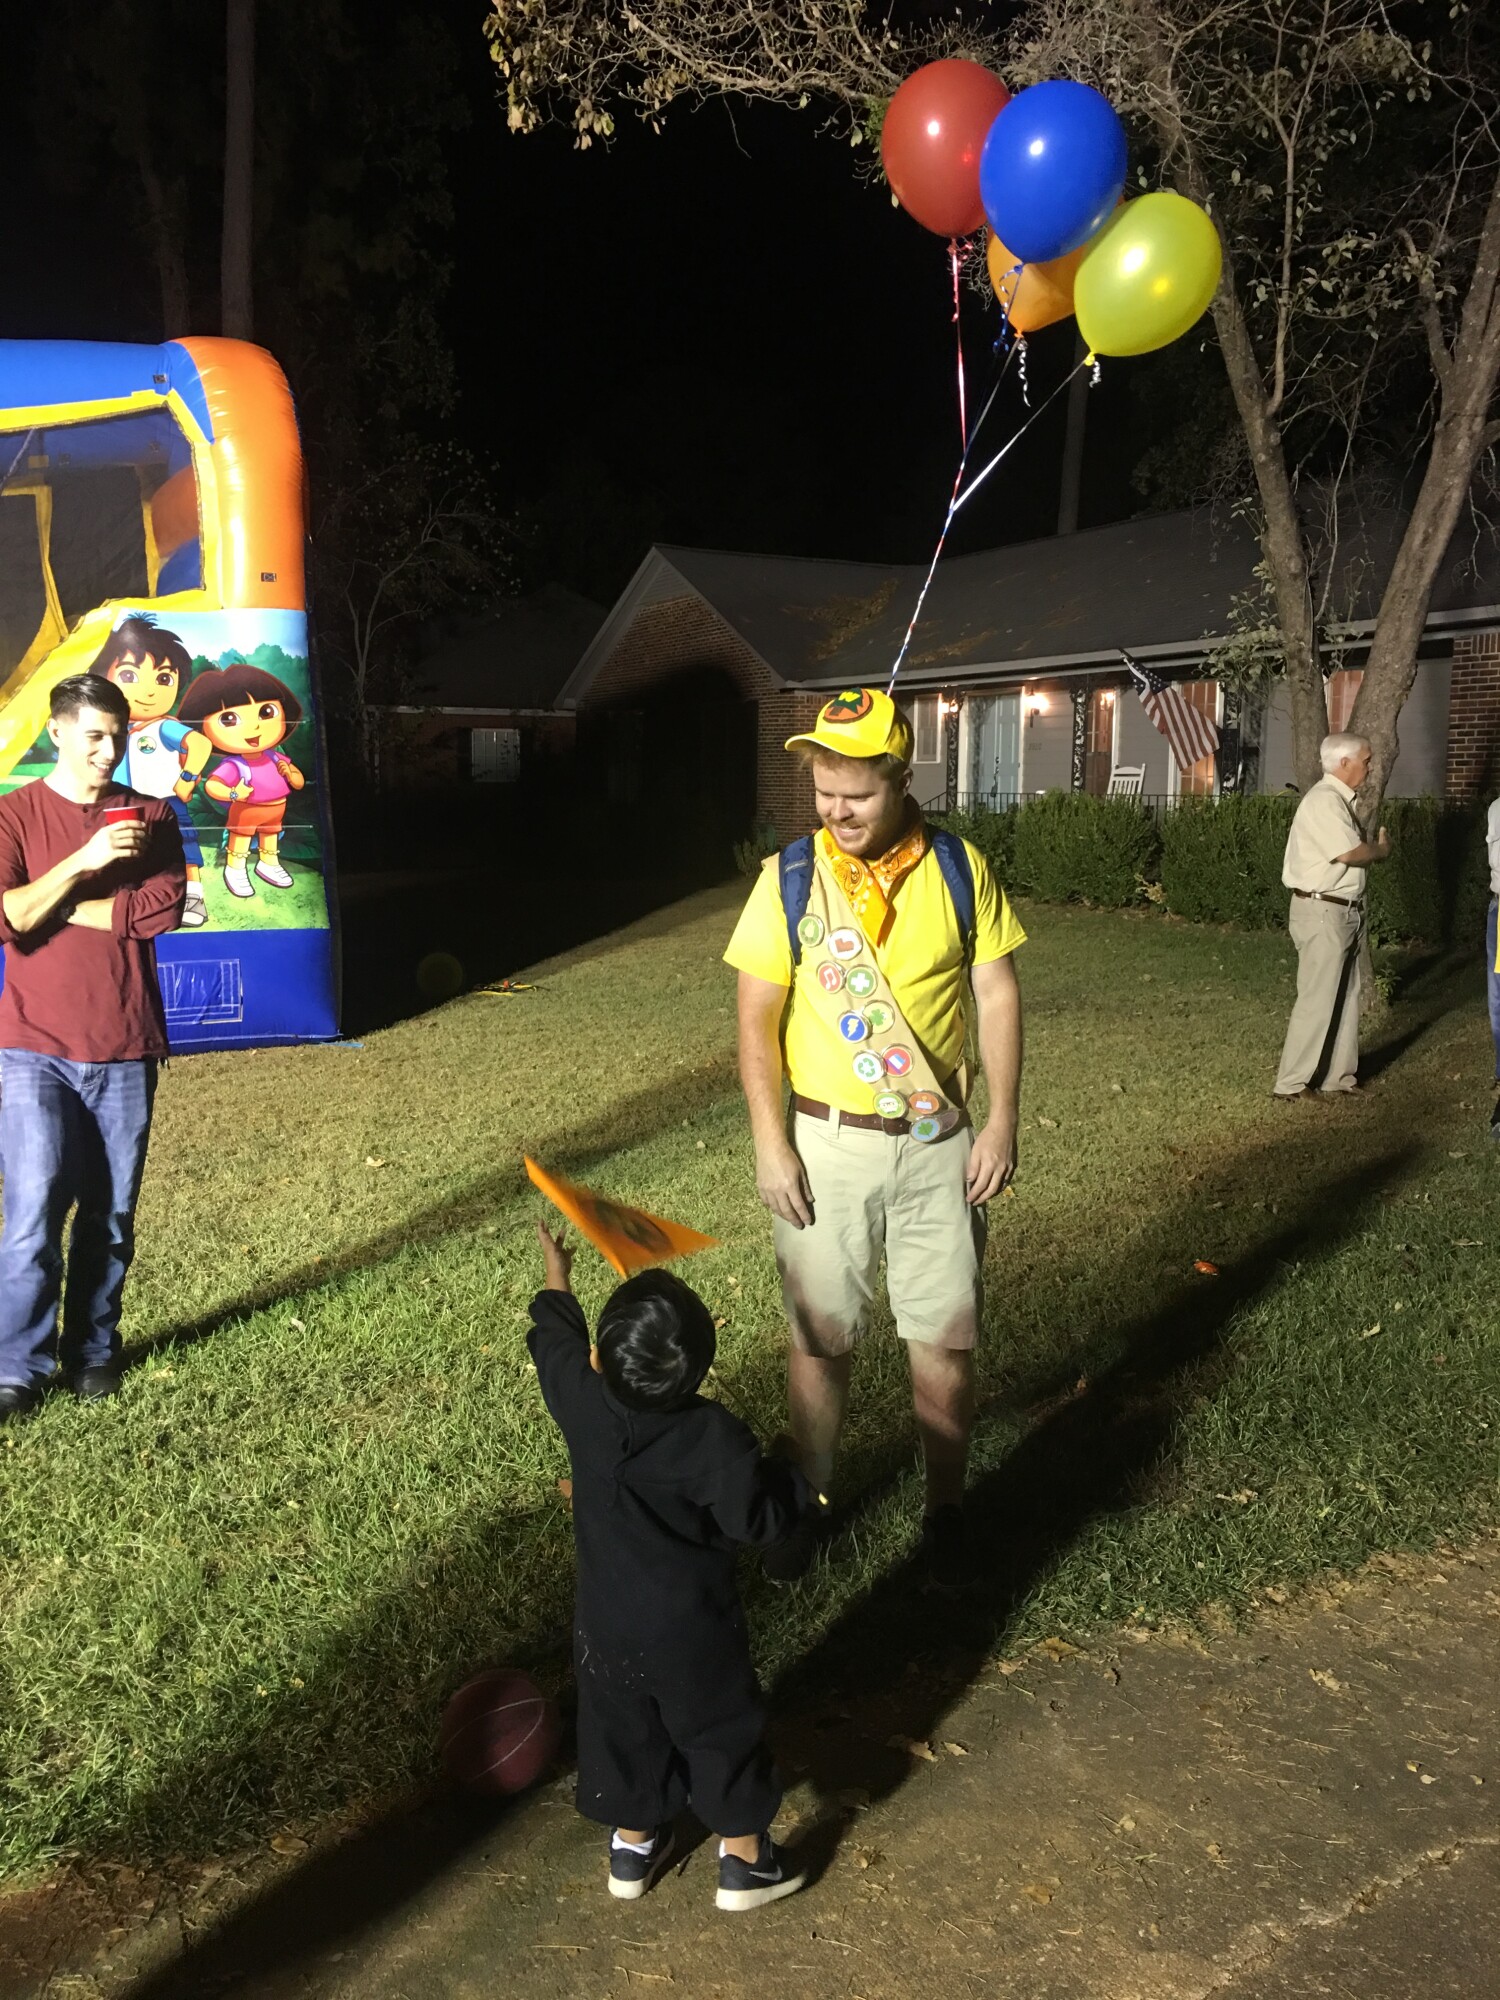
For the final touch I picked up four balloons in red, yellow, orange and blue and tied them onto the a book-bag that Scott wore all night. I don’t think this will make or break the costume, but it added a nice touch!

