Thanks to everyone who joined us for the Renovation Q&A! I wanted to put the info we talked about in the video in one place!
Instagram Accounts Scott mentioned:
- https://www.instagram.com/trimworks828/
- https://www.instagram.com/jchcabinets/
- https://www.instagram.com/koval_builders/
- https://www.instagram.com/buildingsciencefightclub/
- https://www.instagram.com/carpentry_bymar/
Flipping 101 with Tarek El Moussa: This show has such valuable information! Even though we aren't flipping properties, we still learned a lot!
Renovation Expense Excel File: All About Planners has some great excel files! I have this one and a vacation expense planner. You can purchase the files from her website or from her Etsy page.
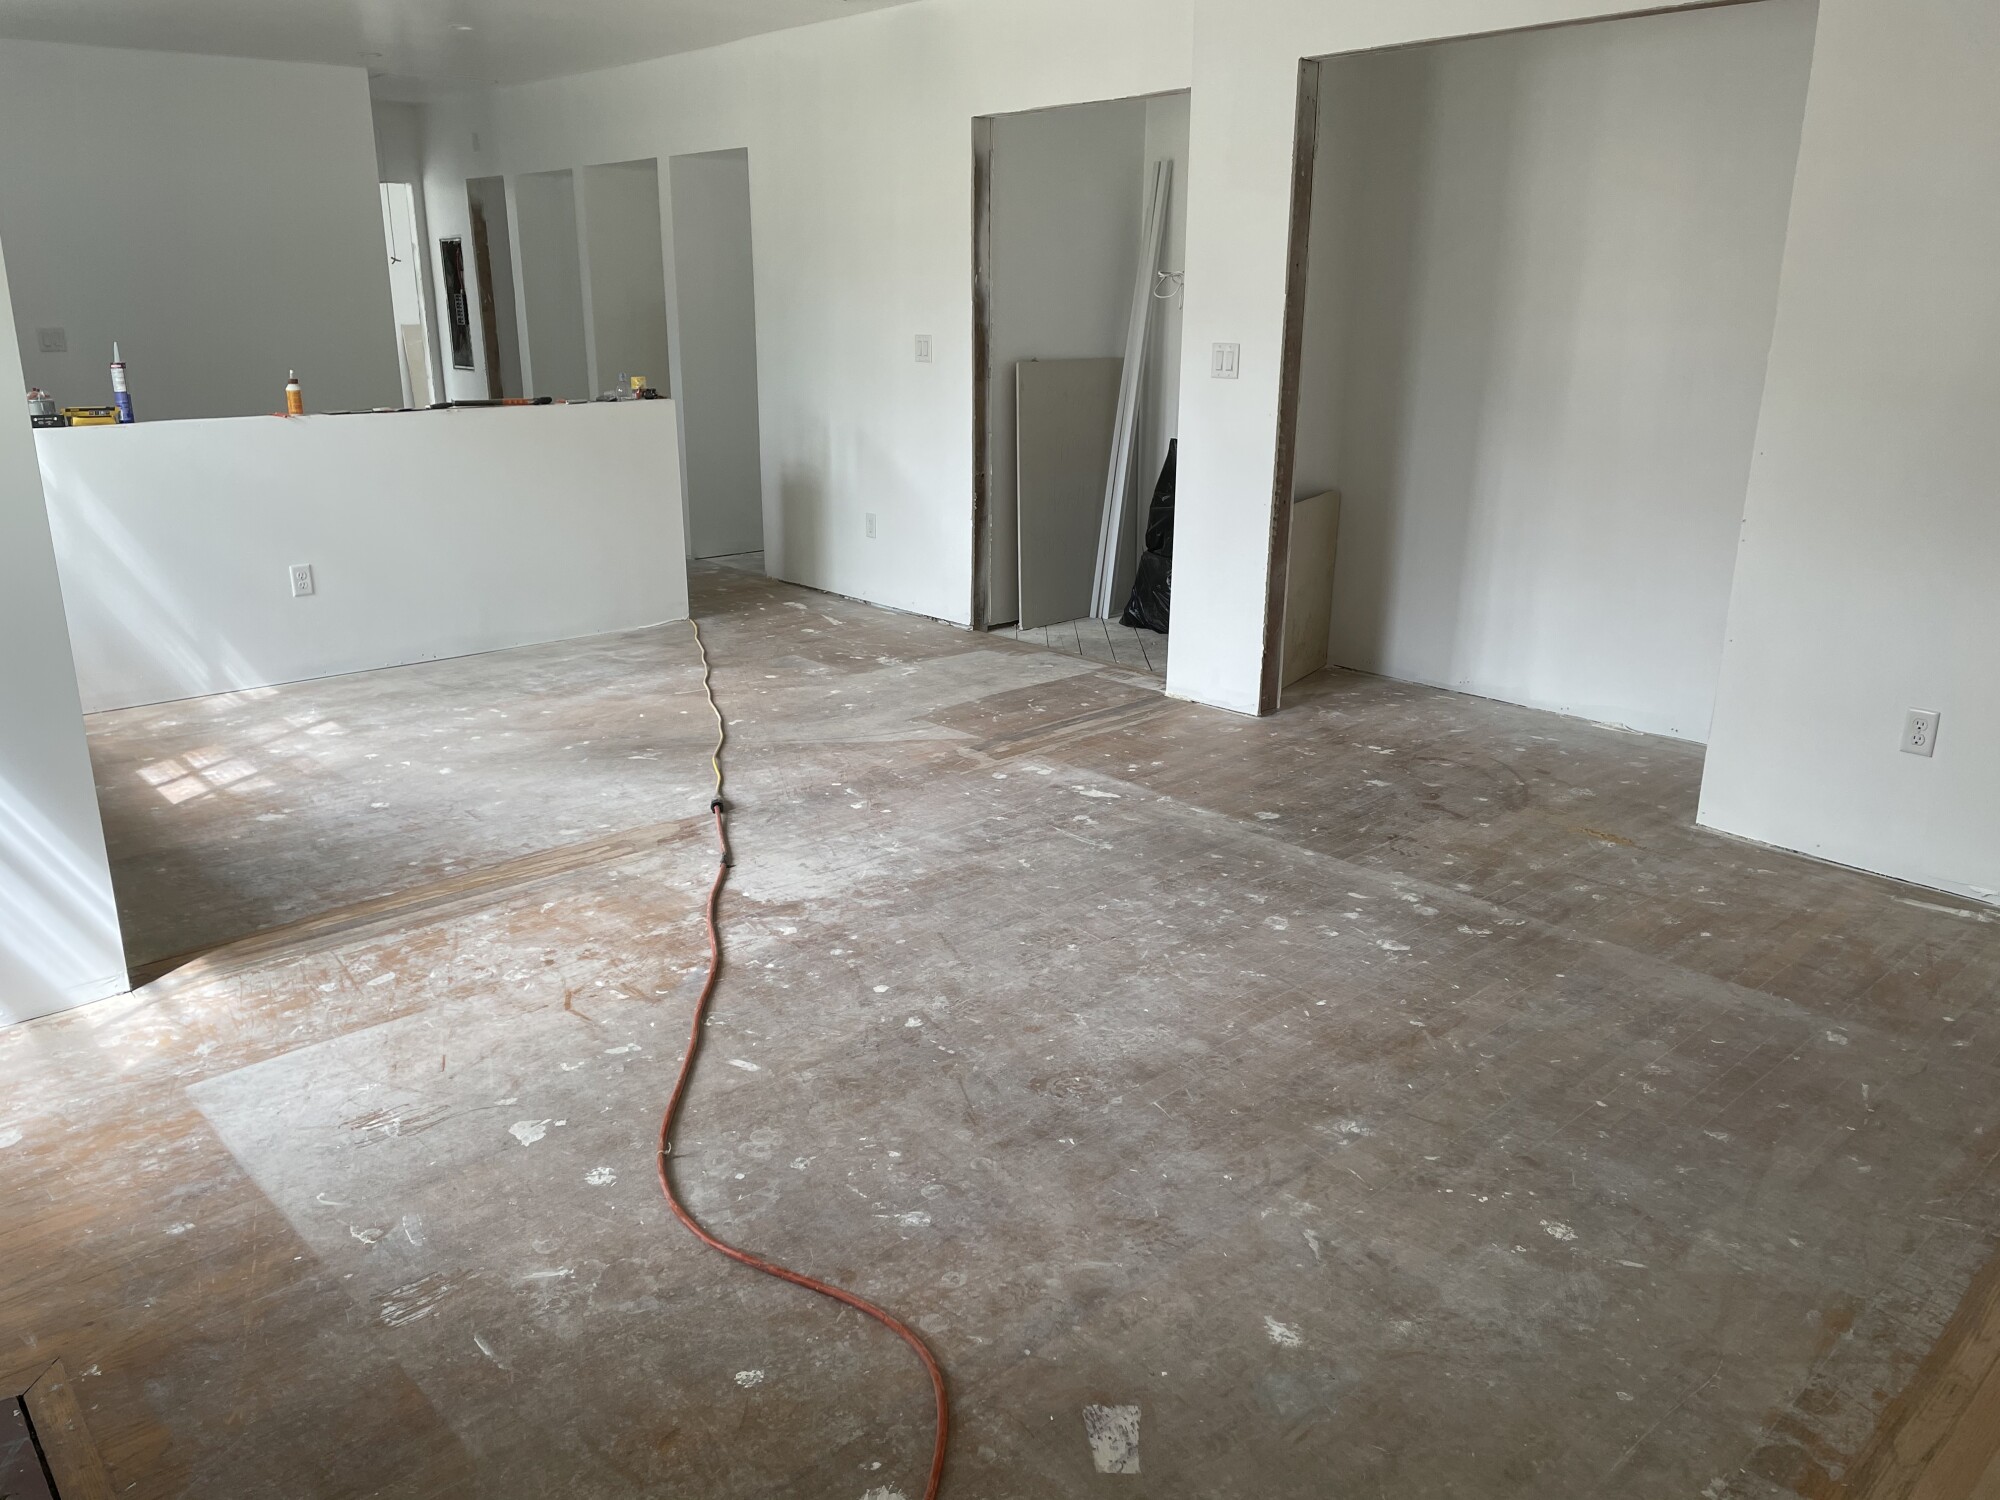
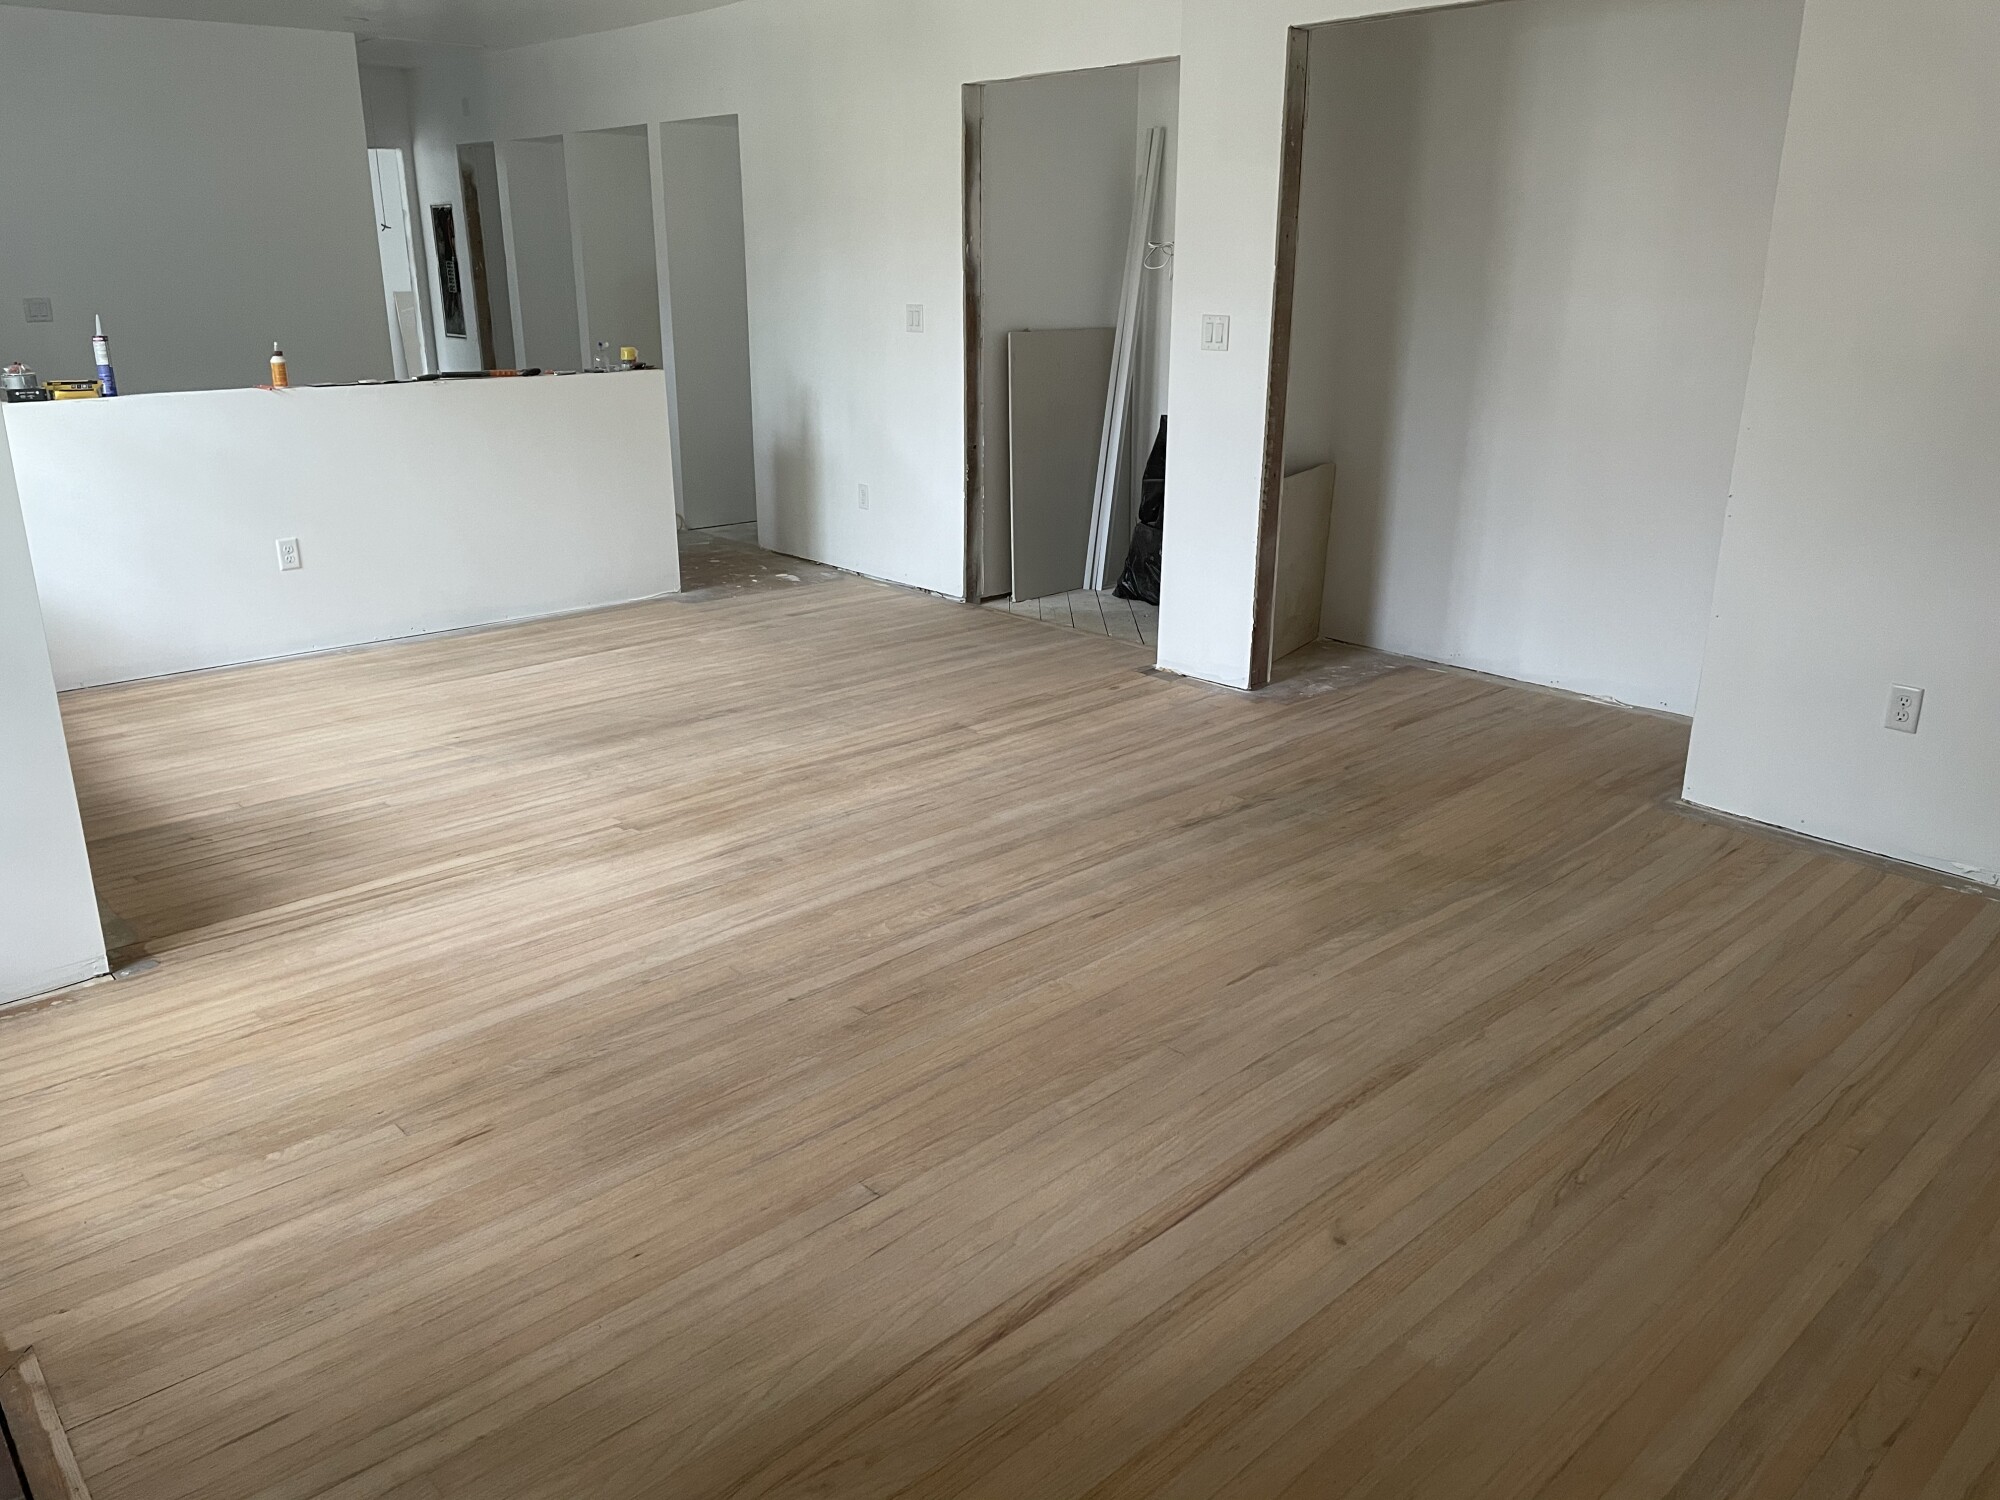
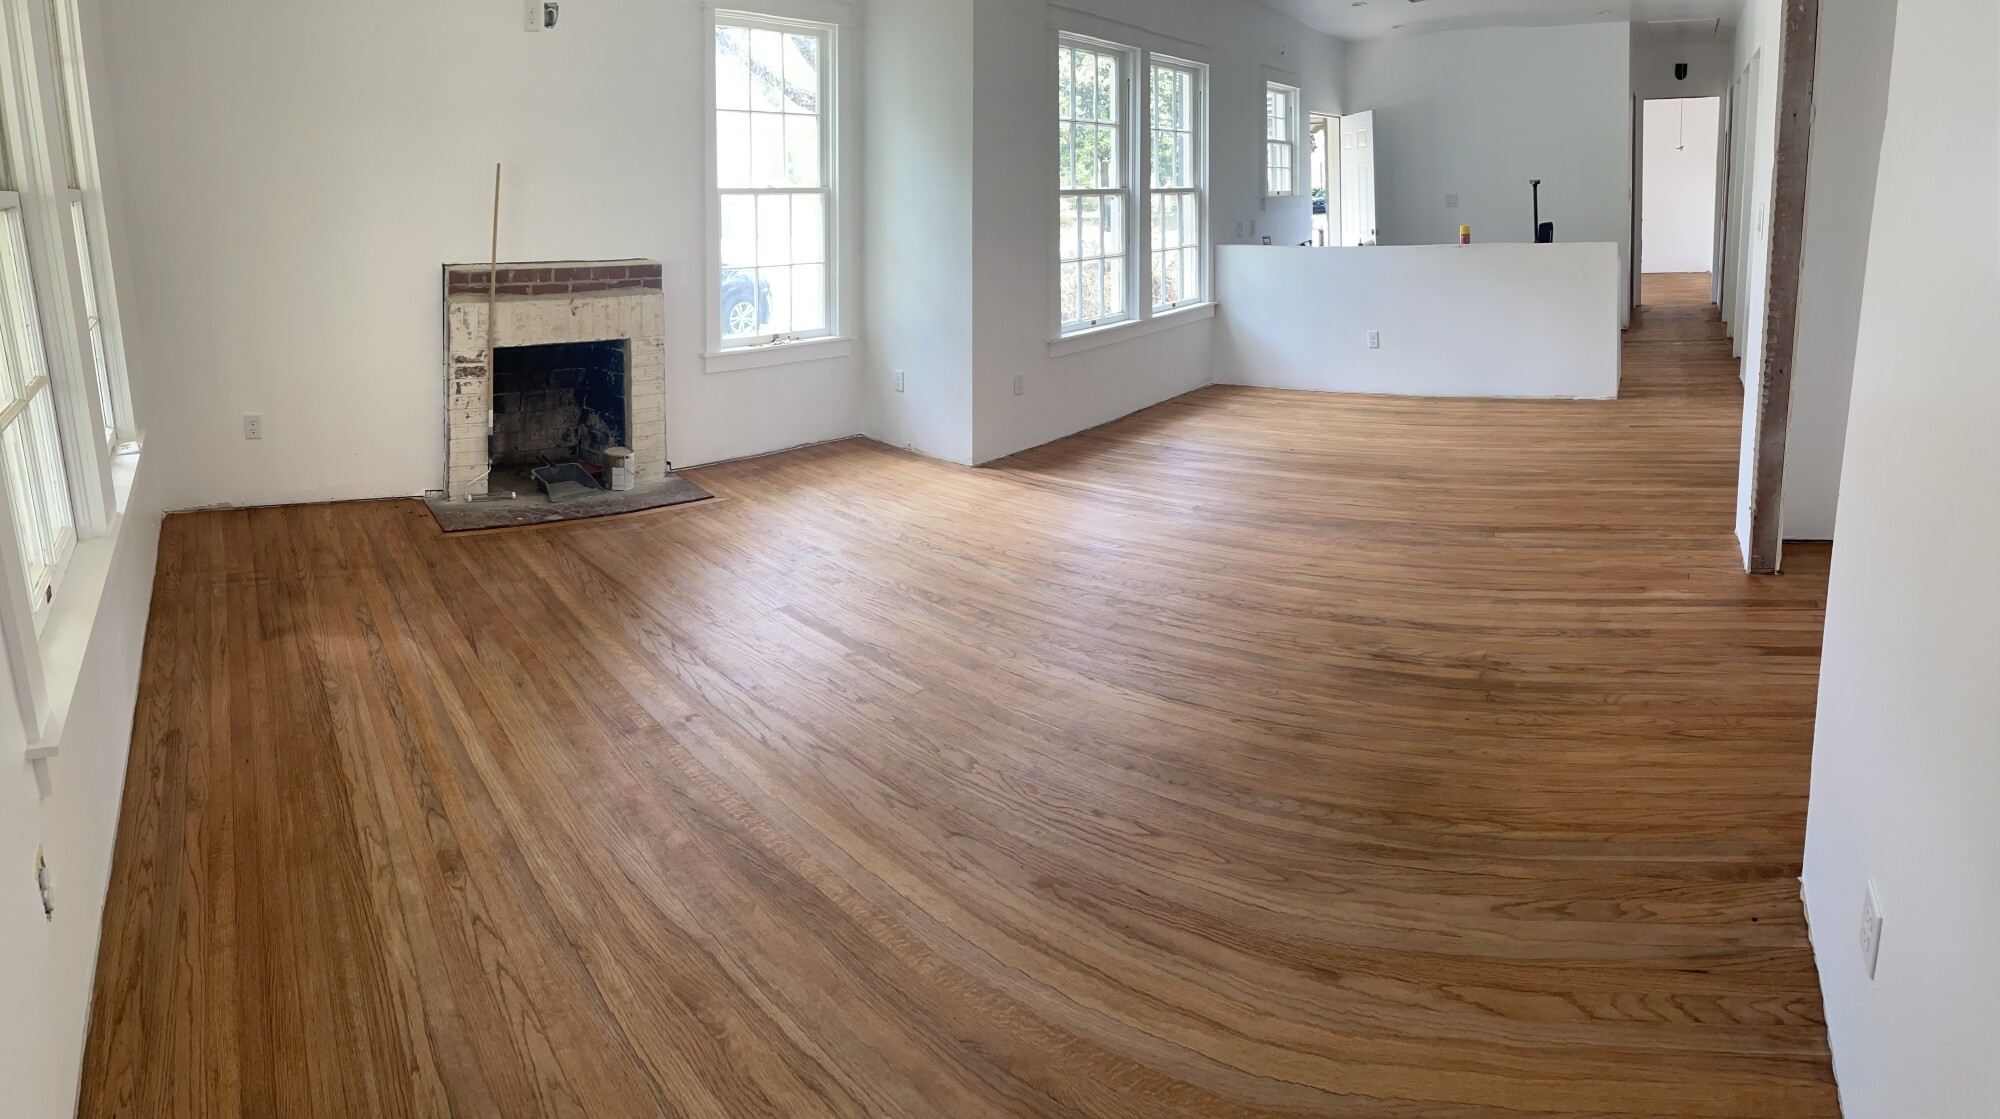
When I made the 15 second reel about redoing the hardwood floors at the rental, I know it all looked like rainbows and unicorns. It wasn’t until I sat down with Scott to get the step by step, that I remembered how labor intensive it was! But it was so worth it and we would do it again in an heartbeat (which we probably will be doing it again soon at our house).
There are probably hundreds tutorials, blogs and video's out there that on how to stripe and stain hardwood floors, but this is what we did!
Helpful Tip: There are some fantastic tutorials on YouTube from equipment manufactures and renovators explaining how to use the sanders!
Step 1: Renting your equipment and picking your grit paper
- You’ll need a drum sander, corner sander and sand paper in the following grit- 20, 60, 80, 120. We rented these from a local equipment store, but you may be able to rent them from places like Home Depot or Lowes.
- 20 grit will be used to strip the floors down to the bare wood and also remove any imperfections
- 60, 80, 120 grit: You can use different increments for this, but you want to keep in mind the higher the number the smoother sand you’ll get. So you want to go from smaller to larger and increase gradually
Step 2: Sanding
- 1st sand: use the 20 grit to take your floors down to the bare wood
- 2nd sand: use the 60 grit to start smoothing out the floors
- 3rd sand: use the 80 grit to smooth the floors even further
- 4th sand: use the 120 grit as the final sand
* The corner sander is the hardest part. It’s heavy so be careful when using it. It can get away from you and hit the bottoms on your wall.
* Using the drum sander can get boring and tedious, but once you get the hang of it, it isn’t bad.
Step 3: Cleaning
- Once sanding is finished, sweep and vacuum really well
- Clean with microfiber mop to get the dust up.
- This step is to get the dust up so it isn’t in your stain
Step 4: Staining
- Work in small sections.
- You don’t want the stain to puddle or pool on the wood. It was easiest for us to apply our stain by hand with rags.
- Once the stain drys, clean everything again (sweep, vacuum, microfiber mop)
- If you want the stain darker, you can do another round of stain. But one coat should be fine.
Step 5: Top Coat Clear Finish
- Clear finish- We used a satin polyurethane
- Apply with Lambskin Floor Stain Pad (which looks like a push broom set up). You want to use the pad instead of a roller because a roller with introduce air bubbles into the top coat
- Let everything dry for 24 hours
- After 24 hours. Sand floors with 220 grit sandpaper ( we used a broom stick with a dry wall sander attachment)
- Sweep, vacuum, and lightly mop with a swiffer or something similar ( now that you have the first clear coat on you can use a swiffer or spray to clean the floors)
- Repeat top coat process (applying & sanding) for as many coats as you want. You’ll feel it get smoother with each coat. We did three coats all together on our floors.
 |  |
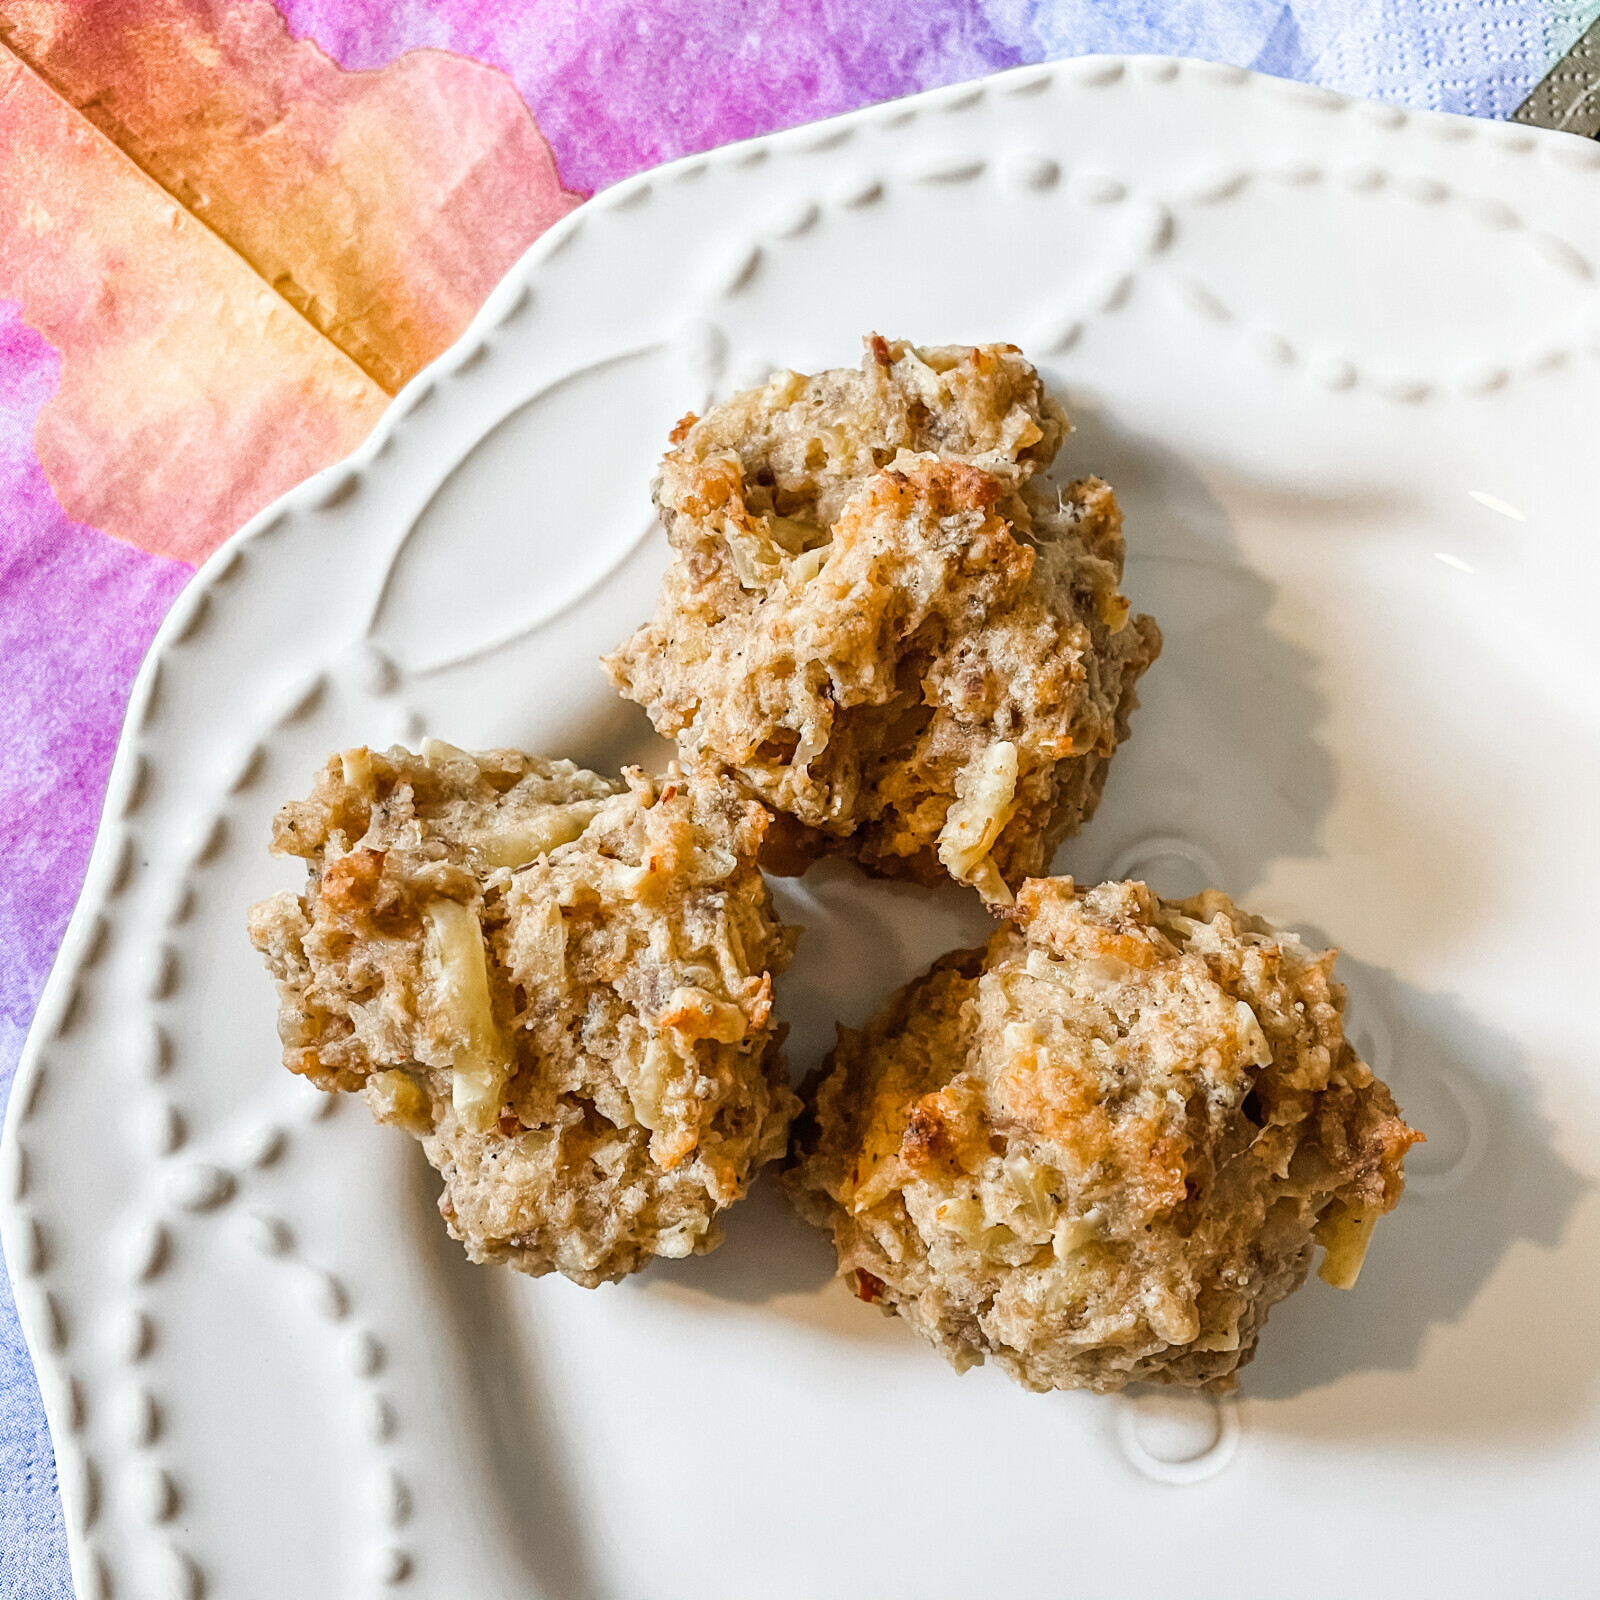 Earlier this year, my friend did a "Some Bunny is Turing One" brunch for her daughter. She made the most amazing cream cheese sausage balls and ever since, I've been on the lookout for a good gluten and dairy free recipe.
 I've tried different ones over the past six months- sticking to the recipe, mixing and matching, doing whatever I could to replicate a true cream cheese sausage ball. And I think I'm finally come up with it!!
Read more... Our June Adrenal Jumpstart is Live!!!
Starting June 7, we’ll focus on nurturing and supporting our adrenal so we can have some extra energy…. Which let’s be honest - we all need, Right?
Read more... I was sharing with some friends the other day about a new regimen my doctor has me on for extreme tiredness.
One mentioned that she was so glad my doctor was really listening to me and helping me!
Me too!! Because unfortunately, that's not the case with a lot of women who have hashimotoes. And was my case for a while, until I learned to stand up for myself and for my health!
Read more...